
NEW TRICK!
Here's the original (above).
Here it is with this awesome "new" old vintage camera frame I found.
Keep reading and I'll tell you how to do it!
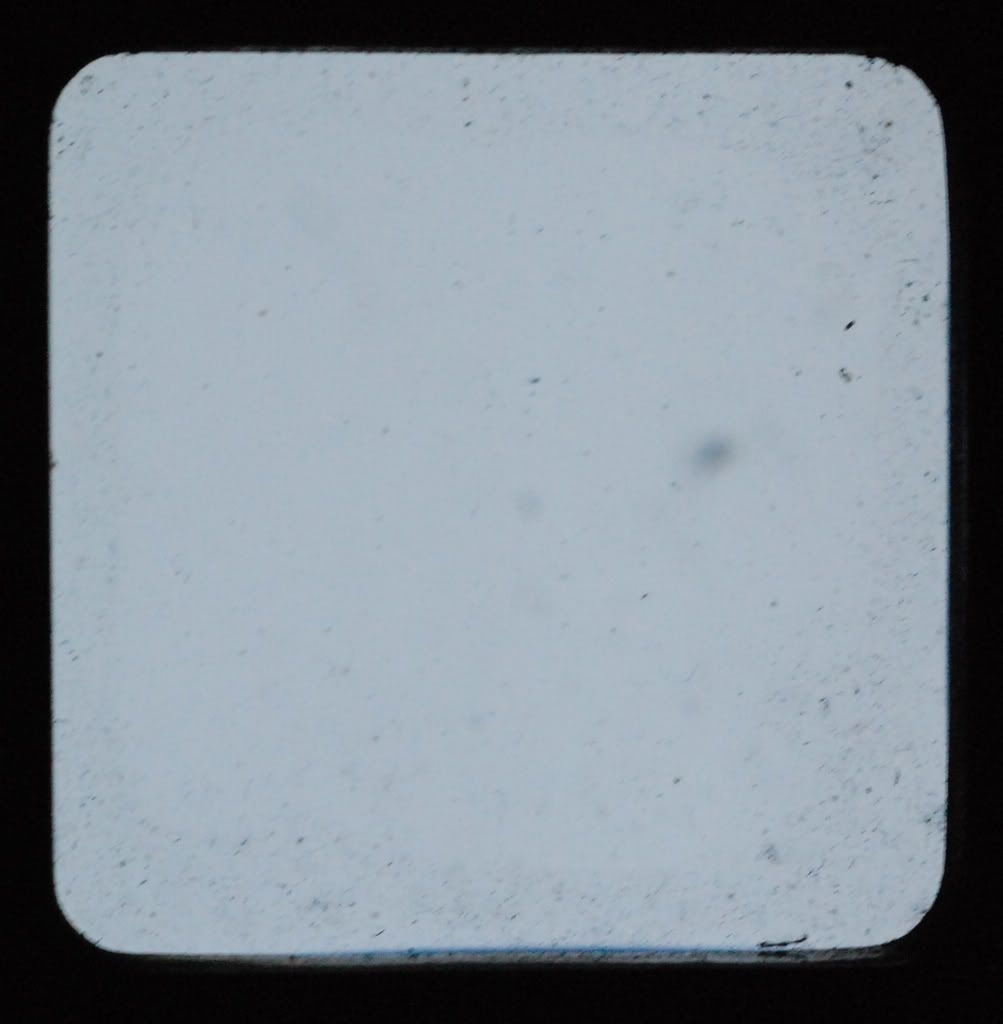
They come looking like this...clear:
Here is the clear option frame (below)
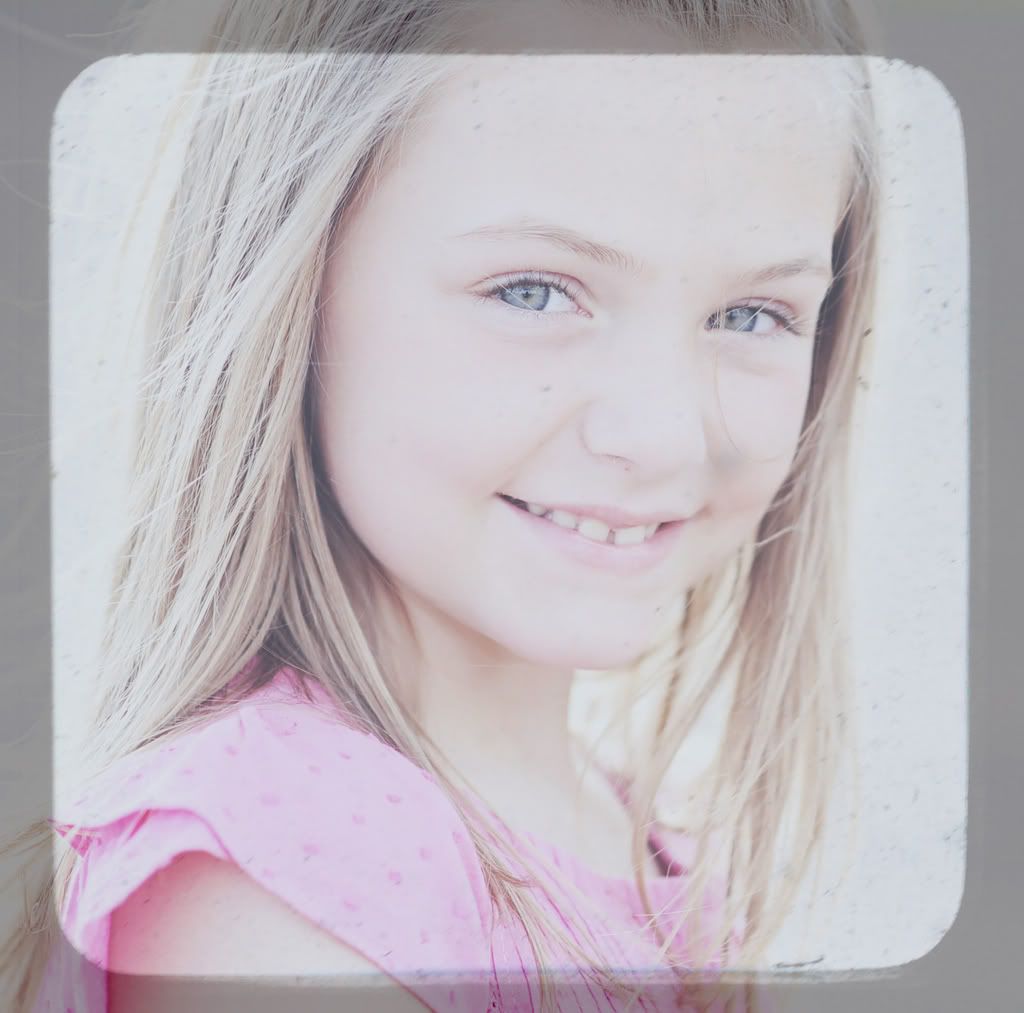
Here it is with a little tweaking and experimenting with a quick edge burn added.
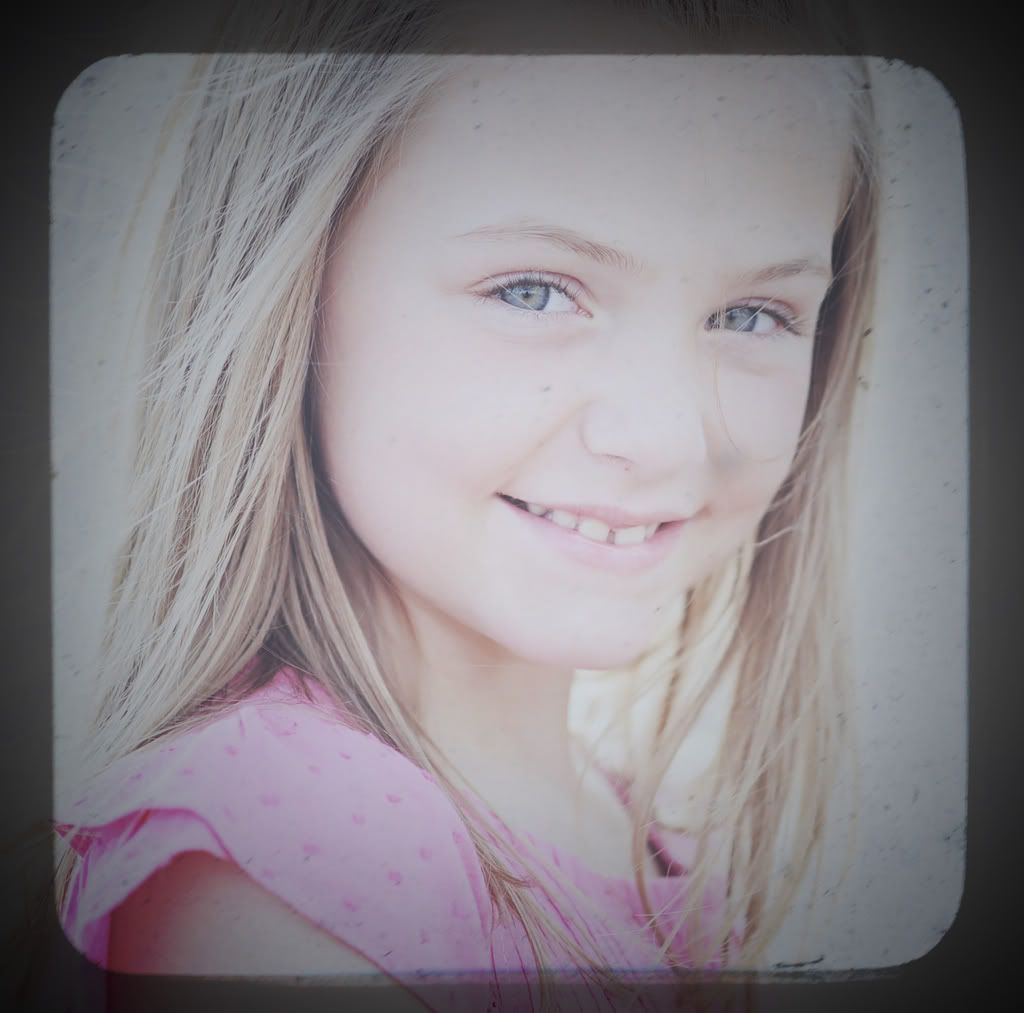
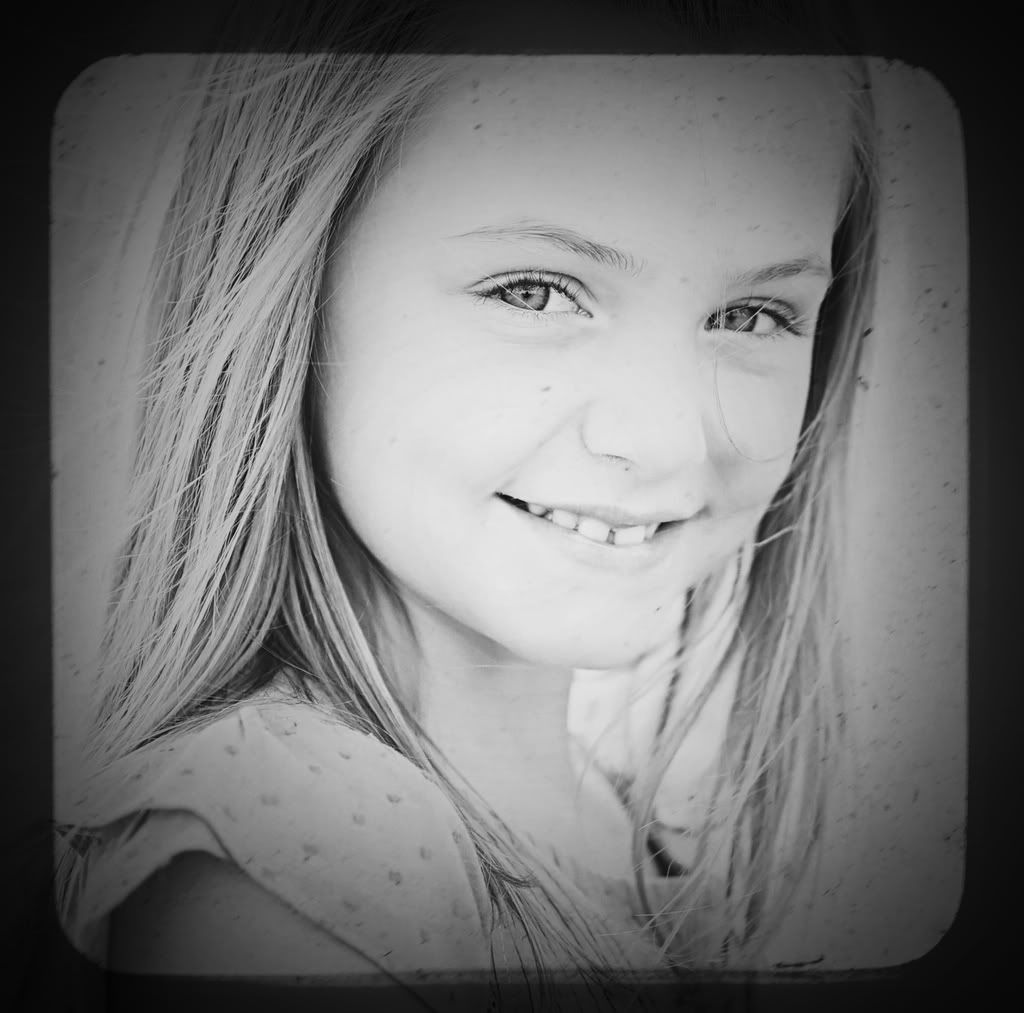
And here tried the B&W.
Here is the original of this shot.

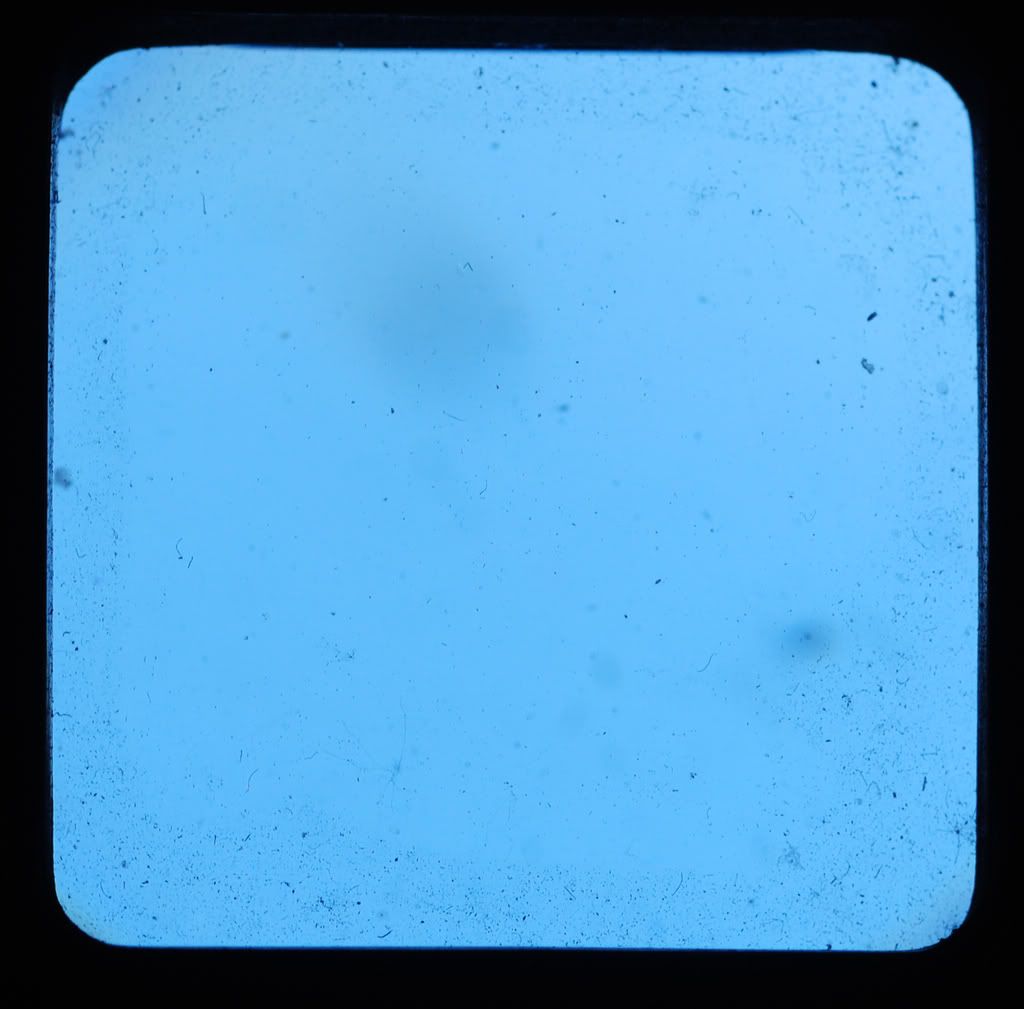
And now with the BLUE old vintage frame...
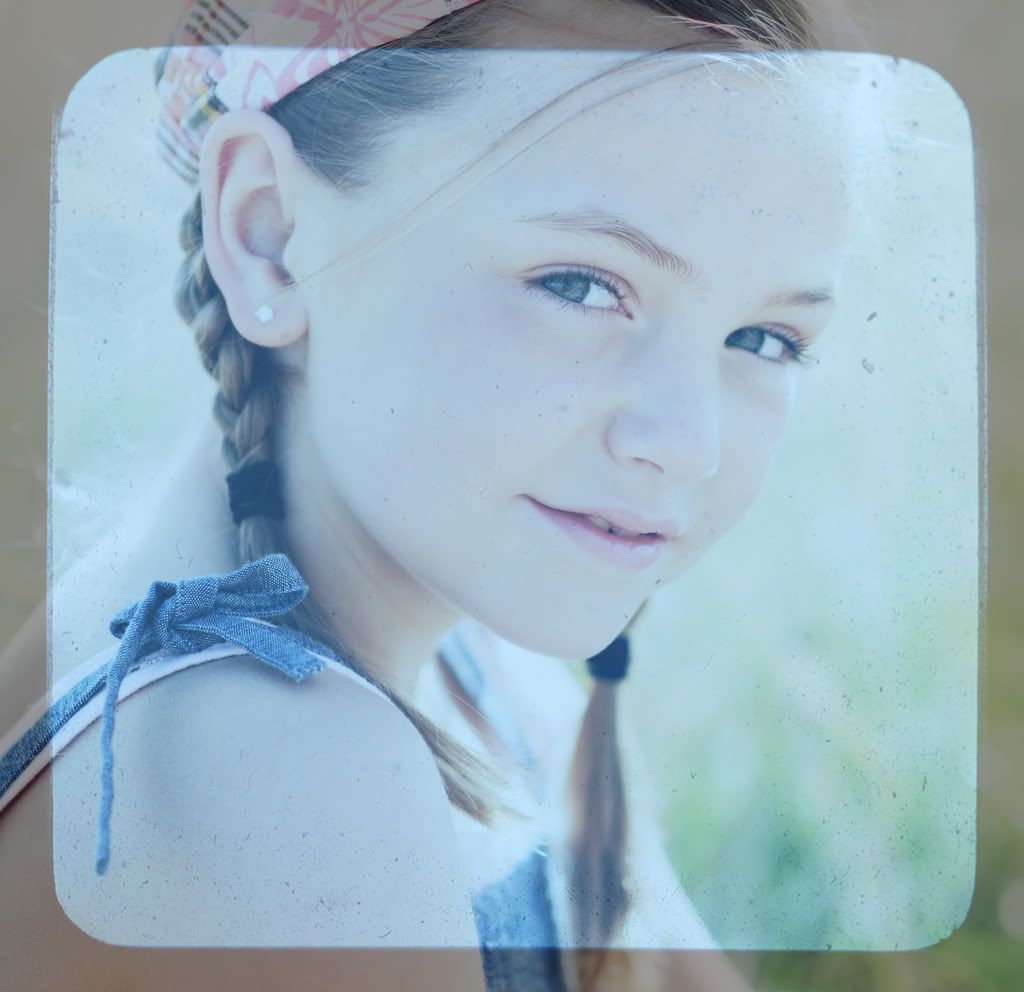
Of course I had to tweak it a bit.
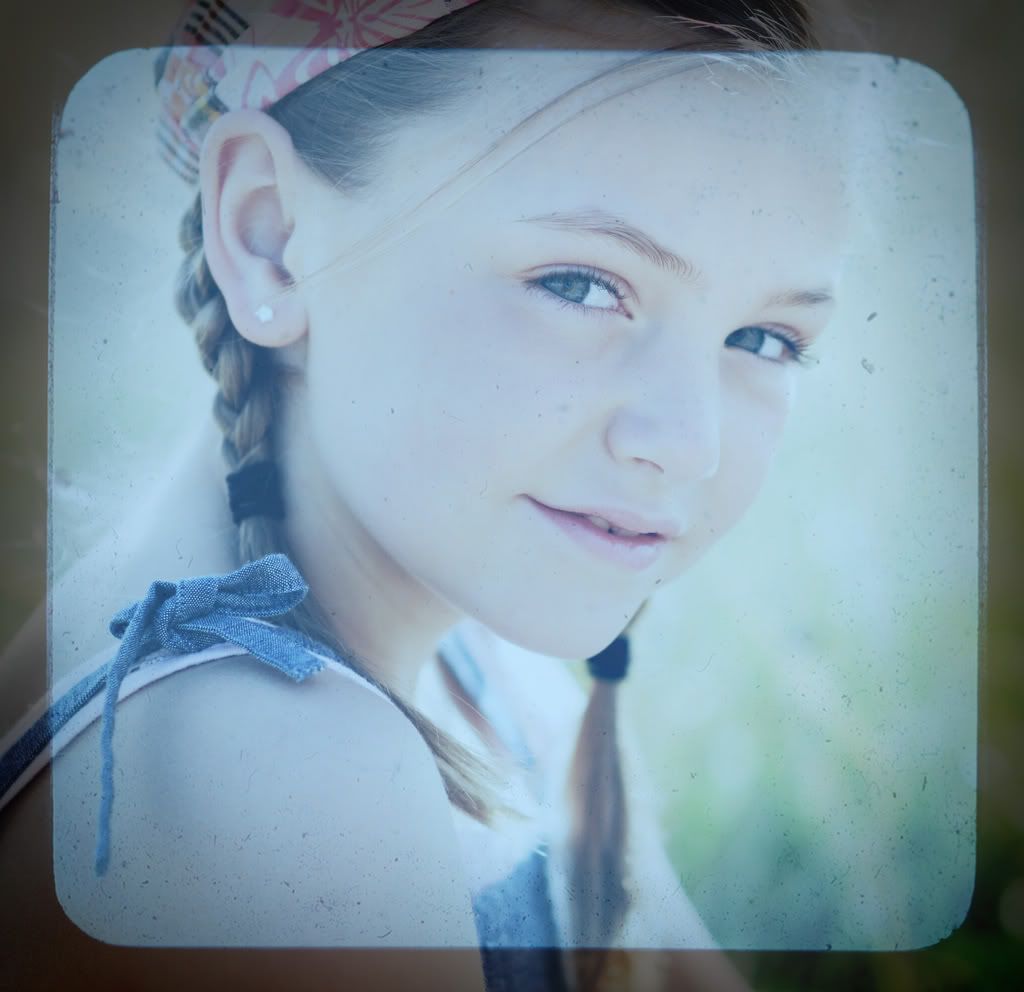
I am still learning and tweaking and experimenting, but I kinda liked this one too! I actually used BOTH. Put the clear one on top of the picture and the blue one on top of that...
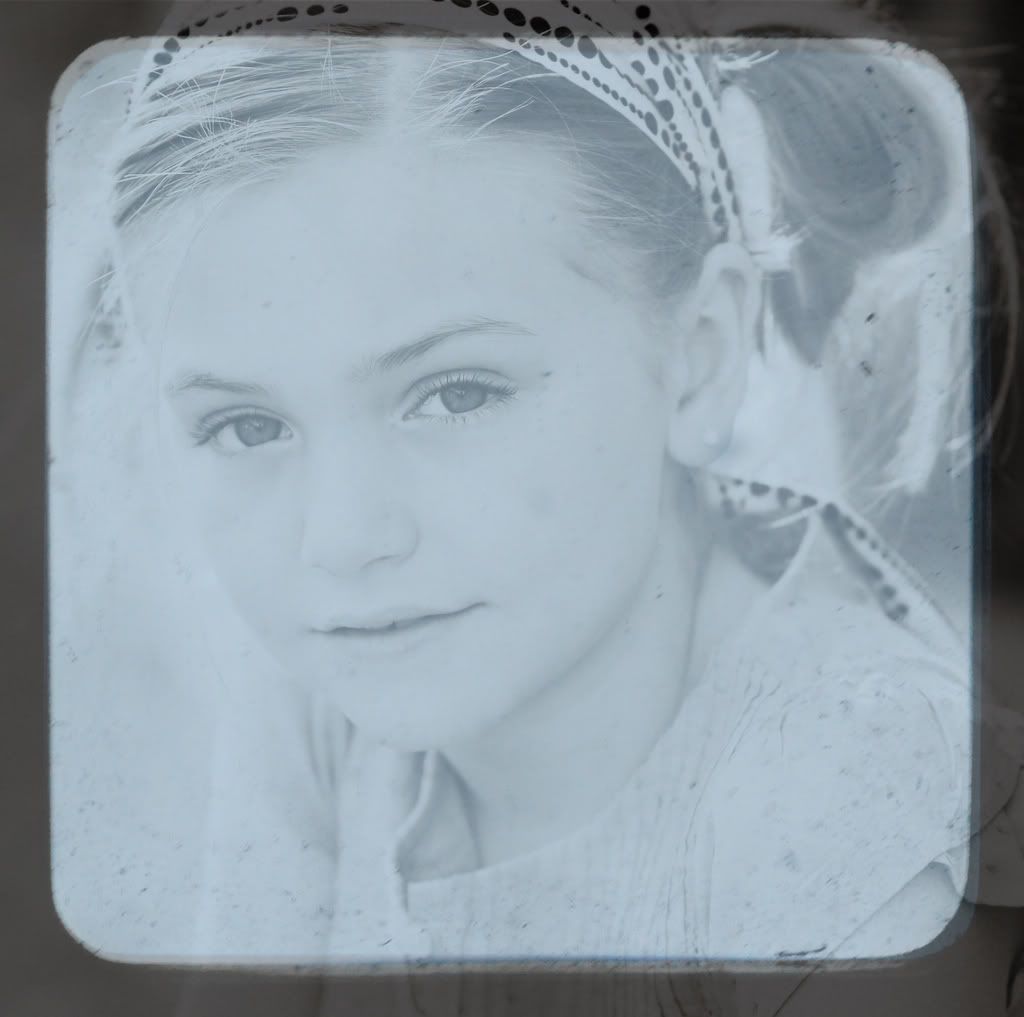
So here's how...
If you want the clear one, click here and for the blue one click here. Go here to learn how to use them straight from the source. In my words...it's super easy. Just open up your photoshop of choice (i.e. - CS3, CS2, PSE, etc), open both the picture you want to use and open the vintage camera frame, adjust the size of the frame to fit over the picture, adjust the opacity (I like about 30% to 45% or so), TA DA!, crop around the frame.
If you try it, let me know, I wanna see!
3 comments:
Holy cow! You have some serious talent there! I need to get myself some skills.
Oooh! THanks for sharing, I'm excited to try. I'll post them if I can figure it out! YOur pictures are sooo good! I love them.
thanks for the links! i love new actions:)
Post a Comment